

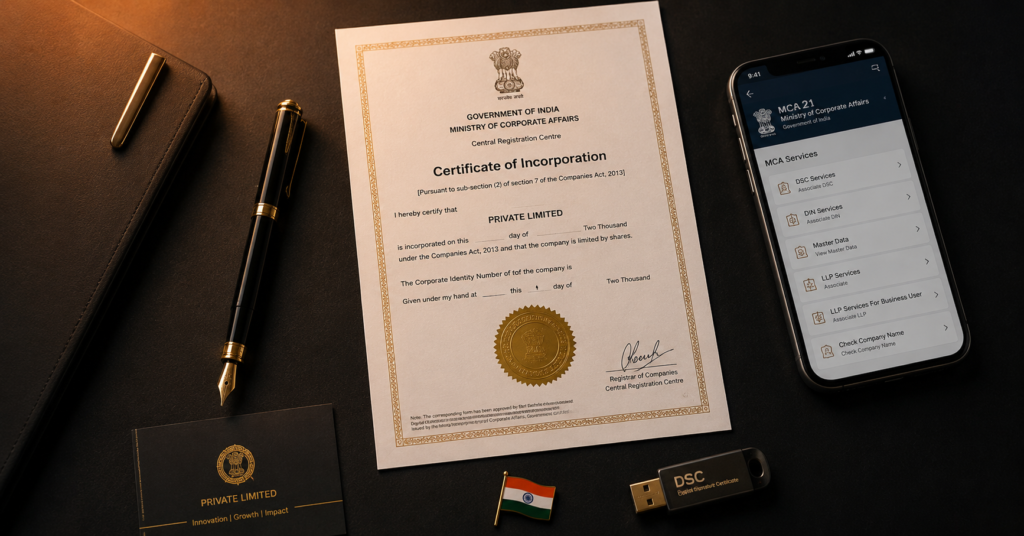
Starting a business in India is exciting — but registering it correctly from day one can save you years of legal headaches later. Whether you are building the next big SaaS product, a D2C brand, or a service business, knowing how to register a startup in India is your first real founder task.
This guide walks you through every step — the right structure, the exact forms, and the timelines you can actually plan around.
Step 1: Choose the Right Business Structure
Before filing anything, you need to decide what type of entity you are registering. This decision affects your taxes, liability, ability to raise funding, and compliance burden for years to come.
Here are the four structures most Indian founders consider:
- Private Limited Company (Pvt Ltd) — The default choice for startups planning to raise funding. Offers limited liability, separate legal identity, and is the structure most investors expect. Can have up to 200 shareholders.
- Limited Liability Partnership (LLP) — Good for professional services firms, consultancies, and businesses with partners but no immediate plan to raise institutional capital. Lower compliance burden than Pvt Ltd.
- One Person Company (OPC) — For solo founders who want limited liability without a co-founder. Converts automatically to Pvt Ltd once revenue crosses ₹2 crore.
- Sole Proprietorship — Easiest to set up, zero separation between owner and business. Not recommended if you plan to scale, raise capital, or take on employees.
Our recommendation: If you are building a venture-backed startup or D2C brand, incorporate as a Private Limited Company. It is the structure investors, banks, and large clients expect.
Step 2: Get a Digital Signature Certificate (DSC)
All MCA (Ministry of Corporate Affairs) filings require a DSC. Every proposed director must have one.
- Issued by government-authorised agencies (eMudhra, Sify, NSDL, etc.)
- Takes 1–3 working days
- Cost: approximately ₹1,000–₹2,000 per director
- Required documents: PAN, Aadhaar, passport-size photo
Step 3: Apply for a Director Identification Number (DIN)
Every director of an Indian company needs a DIN — a unique 8-digit identifier issued by the MCA. You can apply for DIN as part of the SPICe+ incorporation form (see Step 5), which saves you a separate filing.
If applying separately via Form DIR-3, the process takes 1–2 days and costs ₹500 per director.
Step 4: Reserve Your Company Name
Your company name must be unique and not similar to an existing registered company or a protected trademark. Use the RUN (Reserve Unique Name) service on the MCA portal to check availability and reserve your preferred name.
- You can submit up to 2 name preferences
- Approval typically comes within 1–3 working days
- Cost: ₹1,000
- Reserved name is valid for 20 days — start your incorporation filing immediately
Tip: Before reserving, check the IP India trademark database to ensure your name is not already trademarked in your sector.
Step 5: File the Incorporation Form (SPICe+)
SPICe+ (Simplified Proforma for Incorporating Company Electronically) is the master form that handles incorporation, DIN allotment, PAN, TAN, GSTIN, and professional tax registration — all in one go.
The form has two parts:
- Part A — Name reservation (if you have not used RUN)
- Part B — Company incorporation, DIN, PAN, TAN, bank account opening
Documents you will need:
- Memorandum of Association (MoA) — defines your company’s objectives
- Articles of Association (AoA) — internal rules for running the company
- Proof of registered office address (rent agreement + NOC from owner, or ownership proof)
- Identity and address proof of all directors and subscribers
- DSC of all directors
Processing time: 7–15 working days. Once approved, you receive a Certificate of Incorporation (CoI) with your CIN (Corporate Identification Number).
Step 6: Apply for PAN and TAN
PAN (Permanent Account Number) and TAN (Tax Deduction Account Number) are applied for as part of SPICe+. You will receive them along with your CoI. If not, apply separately via the NSDL or UTIITSL portals.
PAN is needed for every financial transaction. TAN is required if you have employees (for TDS deductions).
Step 7: Open a Current Business Bank Account
Take your Certificate of Incorporation, PAN, and company documents to your preferred bank. Most banks have a dedicated current account product for startups.
Popular options among Indian startups: HDFC Bank, Kotak Mahindra Bank, RBL Bank, and neo-banking platforms like Razorpay X or Jupiter for Business. Compare charges and digital banking features before choosing.
Step 8: Register for GST (If Applicable)
GST registration is mandatory if your annual turnover exceeds ₹20 lakhs (₹10 lakhs for Northeast states) or if you are selling goods or services across state borders or online.
Even if you are below the threshold, registering voluntarily allows you to claim input tax credit and signals credibility to larger clients. Register at gst.gov.in — it is free and takes 2–7 working days.
Step 9: Apply for DPIIT Startup Recognition
Once incorporated, apply for recognition under the Startup India programme via DPIIT. This unlocks significant benefits: 3-year income tax exemption, self-certification under 6 labour laws, fast-track IP filing, and access to government procurement portals.
The application is free and takes 2–3 weeks. See our detailed guide on DPIIT recognition eligibility and benefits for the full breakdown.
Common Mistakes Founders Make
- Wrong registered office address — Must be a physical address in India where statutory notices can be served. A virtual office from a registered co-working space is acceptable.
- Not drafting a proper MoA object clause — A vague object clause can restrict your ability to pivot. Draft it broadly but accurately.
- Missing the 30-day window for share allotment — After incorporation, allot shares to all subscribers within 30 days to avoid penalties.
- Ignoring annual compliance — Private Limited Companies must file annual returns (MGT-7), financial statements (AOC-4), and hold board meetings. Non-compliance attracts heavy penalties.
Frequently Asked Questions
How long does it take to register a startup in India?
End-to-end, from DSC to Certificate of Incorporation, typically takes 15–25 working days. With a clean application and a good professional, some founders complete it in 10 working days.
How much does it cost to register a Private Limited Company in India?
Government fees depend on authorised share capital — typically ₹2,000–₹10,000. Professional fees (CA/CS) range from ₹5,000 to ₹25,000 depending on the service provider. Total: ₹10,000–₹35,000 for most early-stage startups.
Can I register a company without a CA or CS?
Technically yes — the MCA portal is publicly accessible. But most founders work with a CA or CS to avoid errors that cause rejection and delay. The cost of a mistake usually exceeds the professional fee.
Do I need a physical office to register?
You need a registered address, but it does not need to be your permanent office. A co-working space with a virtual office agreement works. Many early-stage founders register at their home address temporarily.
Ready to Register? Let Us Handle It for You
Startup registration involves more paperwork than most founders expect — and errors in the application can cost you weeks. At TheNorthVane, we handle the entire incorporation process for Indian founders: from DSC and name reservation to DPIIT recognition filing, all under one roof.
Book a free 30-minute call and we will tell you exactly what you need, what it will cost, and how long it will take — before you commit to anything.